Shipping is the heartbeat of any successful reselling business, and on Whatnot, getting your orders out quickly and efficiently is essential to building trust, boosting your reputation, and keeping customers coming back. Whether you’re brand new to the platform or simply looking to make your process faster, learning how to print shipping labels on Whatnot can save you time, reduce costly mistakes, and get you paid sooner.
In this guide, we’ll cover everything you need to know. From the basic tools you’ll need to step-by-step instructions, so you can ship with confidence and focus on growing your sales.
Does Whatnot Provide You with Shipping Labels?
Good news! Whatnot takes the guesswork out of the shipping process by automatically generating shipping labels for you. No need to copy addresses or calculate postage manually. In most cases, you’re required to use Whatnot’s labels, unless you’re in a country where “bring your own label” (BYOL) is supported.
What You Need Before Printing Shipping Labels
Before you can print your shipping labels, make sure you have the following essentials on hand:
- A computer or tablet (the Whatnot mobile app is limited to shipping tasks)
- A web browser with pop-ups enabled (to view and print labels)
- A printer or thermal label maker (4” x 6” thermal labels or standard 8.5” x 11” paper)
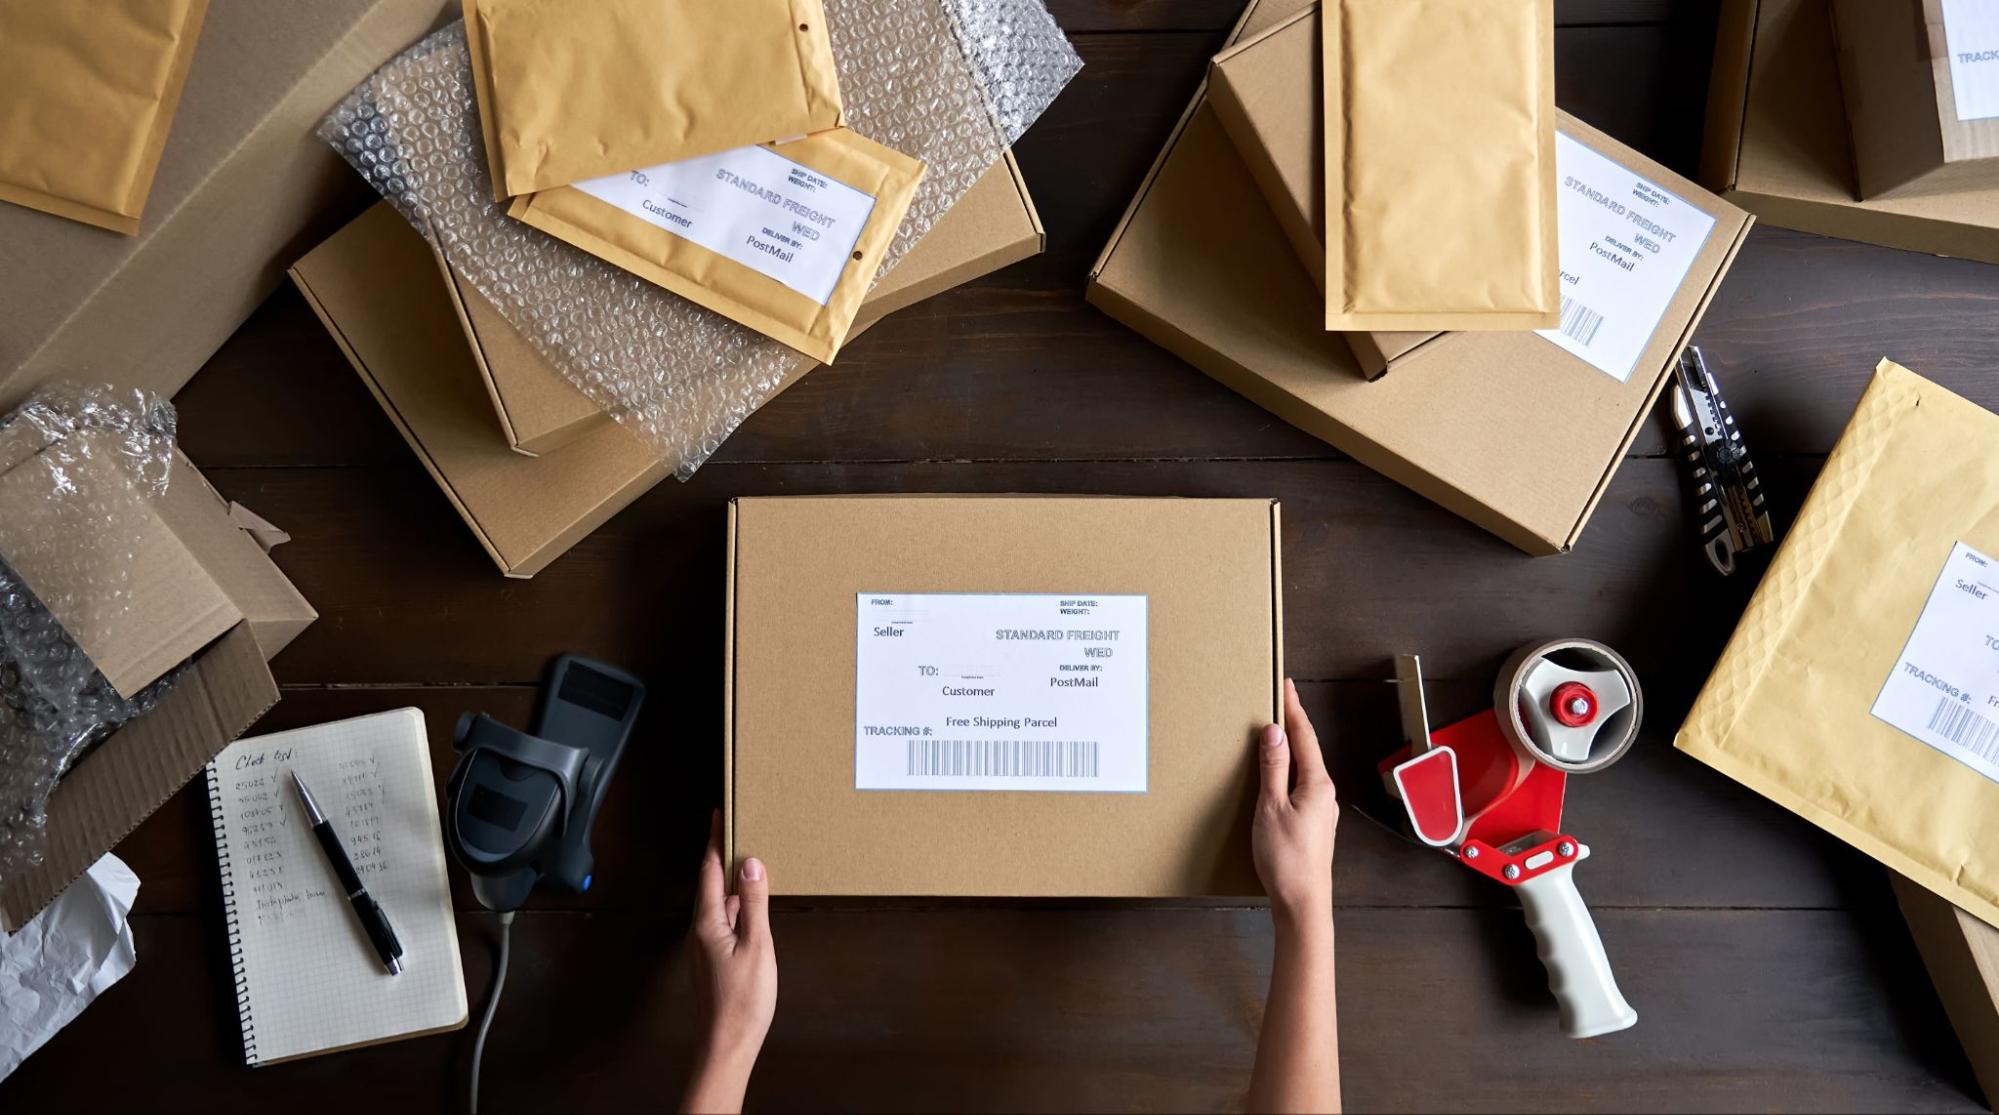
- Packaging materials (boxes, mailers, bubble wrap, tape)
- A digital scale (to accurately weigh your packages)
Pro Tip: Investing in a thermal label printer can speed up your workflow and give your packages a professional look.
Step-by-Step: Printing Shipping Labels on Whatnot
1. Set Your Default Label Options
Before you start shipping, set your label preferences to avoid mistakes down the road:
- Sign in to Whatnot.com (use the desktop site for the full experience)
- Go to the Shipments page in Seller Hub
- Under Default Label Options, select your preferred label size (4” x 6” for thermal printers or 8.5” x 11” for standard printers)
- Confirm your return address
Pro Tip: Once you generate a label, you can’t change the size for that shipment, so double-check your settings before proceeding.
2. Review Orders That Need a Label
Stay organized by reviewing all orders before printing labels:
- Filter your orders by Needs Label in the Shipments page
- Respond to any cancellation requests or offers first
- Make sure bundled orders are correct (Whatnot auto-bundles multiple purchases from the same buyer)
- Double-check each package’s weight and dimensions (including packaging)
- Edit shipment details if needed using the pencil icon or “Edit Shipping Details” option.
Catching errors now saves you time and prevents costly shipping mistakes in the future.
3. Print Packing Slips (Optional) and Pack Your Order
While packing slips aren’t required on Whatnot, they’re a great way to verify your order and provide buyers with a detailed record of what’s inside.
To print packing slips:
- Go to the Shipments page and select the orders you wish to view.
- Under Bulk Actions, click Export Shipping Labels / Slips.
- Check the Packing Slip, choose your sort order, and select ‘View & Print PDF’ or ‘Send via Email’.
- Print and place a slip inside each package (optional, but helpful).
Adding this quick step can reduce errors, improve accuracy, and create a more professional experience for your buyers.
4. Generate and Print Your Shipping Label
Once your orders are packed and ready, it’s time to create and print your shipping labels.
To print a label:
- In the Shipments page, filter by Needs Label.
- Select the order(s) you want to ship.
- Click Generate Label.
- Choose Print Shipping Label.
You can print labels individually or in bulk for multiple orders. Since Whatnot doesn’t support QR codes for label printing, you’ll need to print the physical label and attach it directly to your package.
If you have multiple orders to ship, the bulk export feature will save you time:
- Select all orders you want to ship.
- Under Bulk Actions, choose Export Shipping / Label Slips.
- Confirm your label size and select ‘View & Print PDF’ or ‘Send via Email’.
- Print all labels at once and start attaching them to your packages.
5. Attach the Label and Ship Your Package
After printing your shipping label:
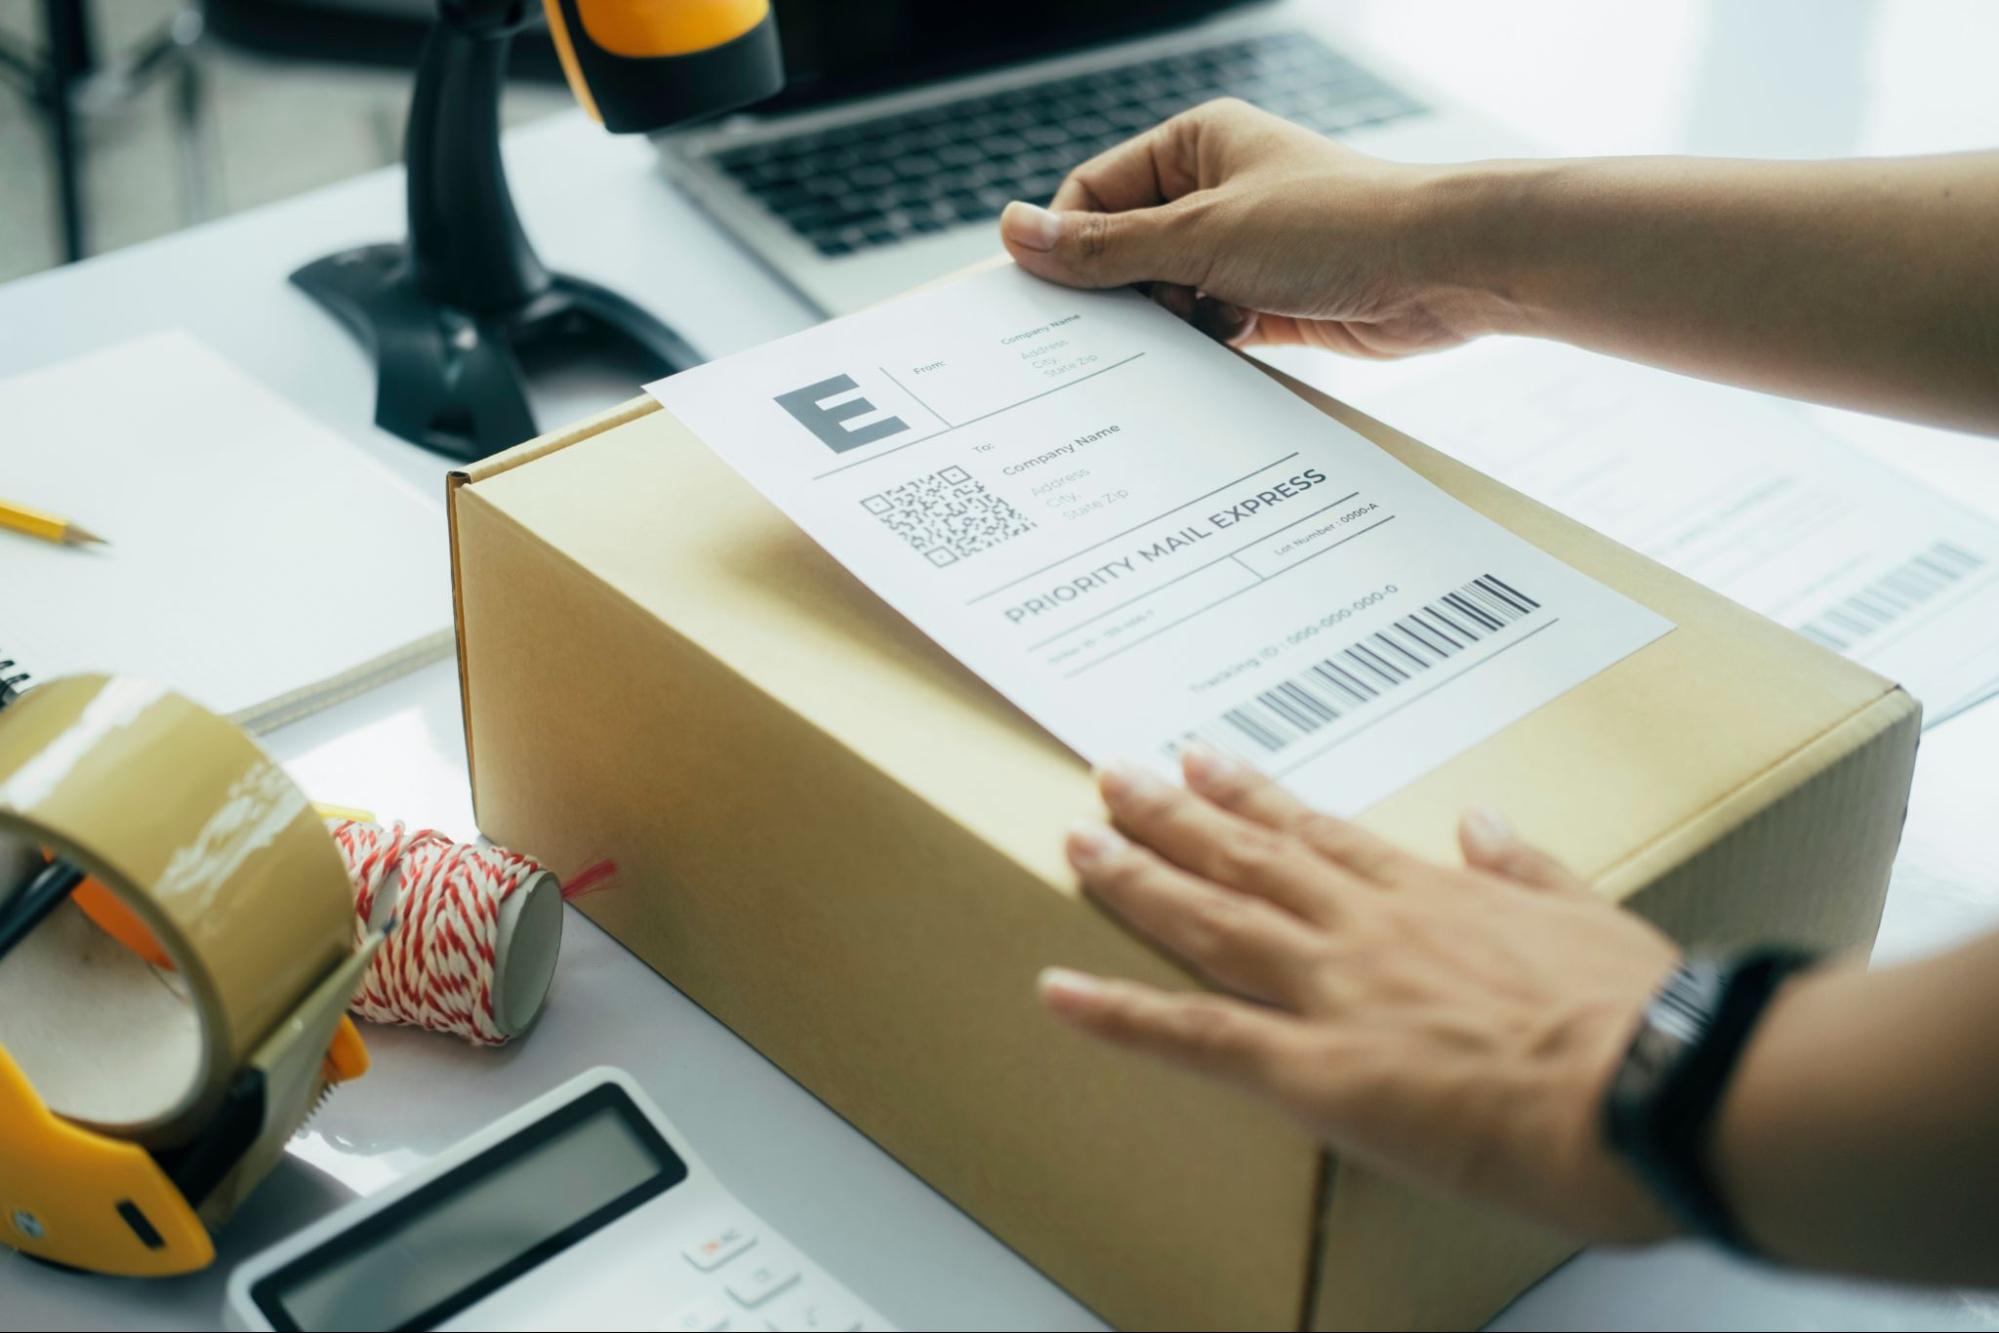
- Secure the label to the outside of your package, ensuring it’s flat and the barcode is clearly visible.
- Send your package by dropping it off at the carrier or scheduling a pickup if available.
- Keep a drop-off receipt as proof that the package was accepted—this can help resolve any delivery issues quickly.
Following these steps ensures that your order is ready for a safe and on-time delivery, and helps protect both you and your buyer.
What Happens After You Ship?
Once your package is on its way, your work as a seller isn’t quite done, but Whatnot makes the post-shipping process simple and transparent. The platform keeps both you and your buyer informed at every step:
- Automatic tracking for the buyer: Once the label is scanned, the buyer receives tracking information, allowing them to know exactly when to expect their order.
- Track your shipment: You can monitor the delivery status directly in the Seller Hub.
- Fast payment: You’ll receive your payout just four hours after the order is delivered.
- Manage your earnings: Track all payments and payouts on the Financials page for easy bookkeeping.
By understanding how Whatnot handles post-shipping updates and payments, you can stay organized, ensure a smooth customer experience, and focus on growing your sales.
Common Questions About Printing Shipping Labels on Whatnot
Shipping on Whatnot can feel tricky at first, especially if you’re new to the platform or looking to make your process more efficient. From understanding label requirements to choosing the right printing method, these frequently asked questions cover the issues most sellers encounter, helping you avoid mistakes and ship every order with confidence.
Can I use my own shipping label?
You must use Whatnot’s shipping labels unless you’re in a country where BYOL is supported. Using your own label in unsupported regions can delay payment and cause tracking issues.
Do I need a thermal label printer?
No, but it’s highly recommended for efficiency. You can also print labels on standard 8.5” x 11” paper and tape them to your package.
What if I make a mistake on the label?
Edit shipment details before generating the label. If you’ve already printed it, you may need to void the label and generate a new one.
How do I print labels from my phone?
While you can generate labels in the mobile app, adjusting shipment details and bulk printing are best done on the desktop site.
Tips for Successful Shipping on Whatnot
Printing shipping labels on Whatnot is simple once you understand the steps and have the right tools on hand. By following these best practices, you’ll ensure that your buyers stay satisfied, your payments arrive on time, and your reselling business operates efficiently.
For even more actionable tips on selling and shipping across Whatnot, Amazon, Walmart, and other platforms, subscribe to our Resale Pro newsletter!


